  |
This wireless adapter worls perfectly with Linux, because it's using the PRISM2 chipset. I use the hostap driver because of it's good support of host monitor mode. Before these drivers
I tried the linux-wlan package, but it caused my notebook to crash...
I still
don't know why. I tried to find this wlan adapter on UNEX website but it looks like they stopped the production of this specified card. It seems they started to build the the WF502 wireless adapter as the only pure 802.11b PCMCIA NIC. IMHO, the worst thing of most of the "modern" PCMCIA WLAN Adapters is the lack of a connector for an external antenna. I decided to add one to my MR011, here follows photos and a brief description of how I did it (it's simple, don't be scared :) First of all, you have to open the NIC. Take a little screwdriver, and use it on the side of the NIC, try to divide the two metal covers. I advise you to proceed slowly along all the edge, dividing the two covers progressively (click on image to view a bigger one in a new window). 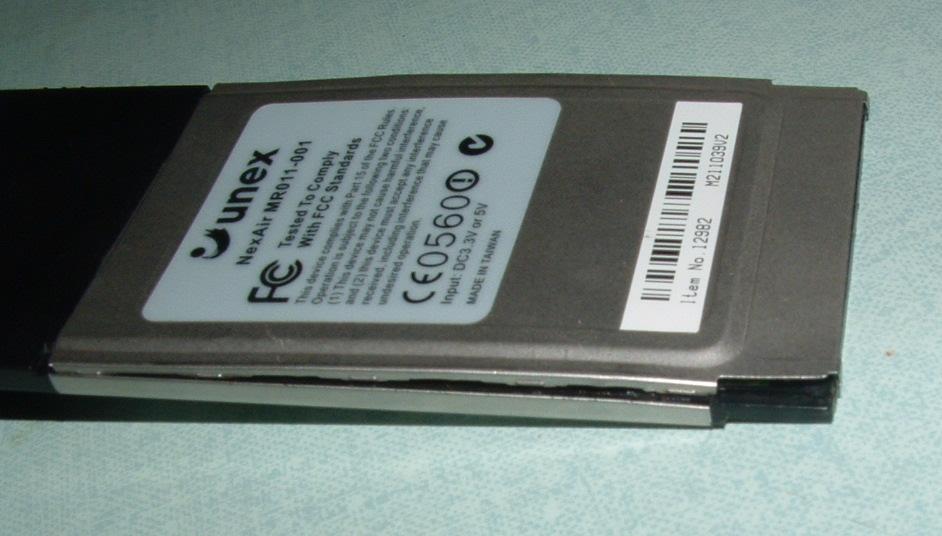 The onboard antenna is located under the black plastic cover. To open it I just used brute force:). When you have your NIC naked, you will see two "L" antennas, one is the main, and the other is the auxiliary (you can't be wrong, it's written on the circuit board). Desolder the AUX "L" antenna and solder the core of your cable in the center of the "gold" part of the board. Be very careful to *NOT* short circuit your cable with the rest of the board. 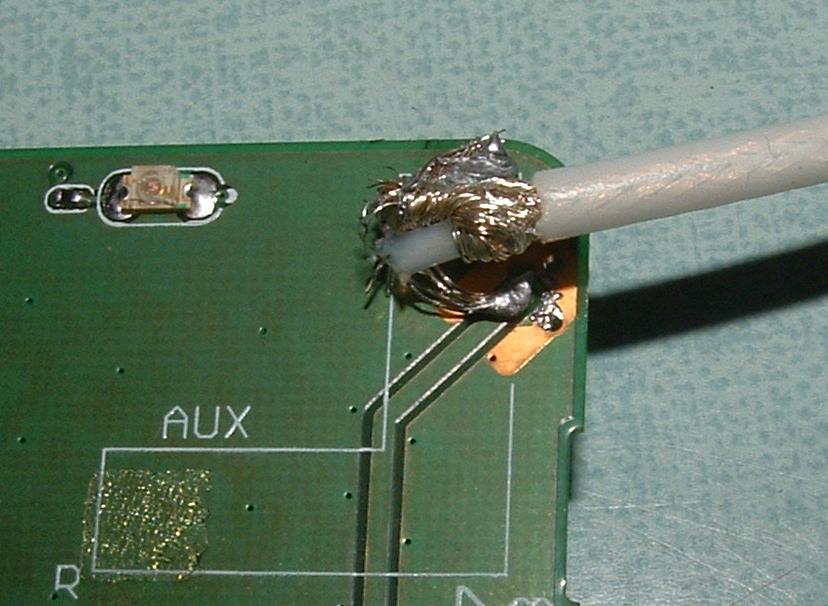 Solder the external part of your cable (the mass) in the corner of the "L" shape on the board, where you will find a little hole (the internal AUX antenna was soldered here). 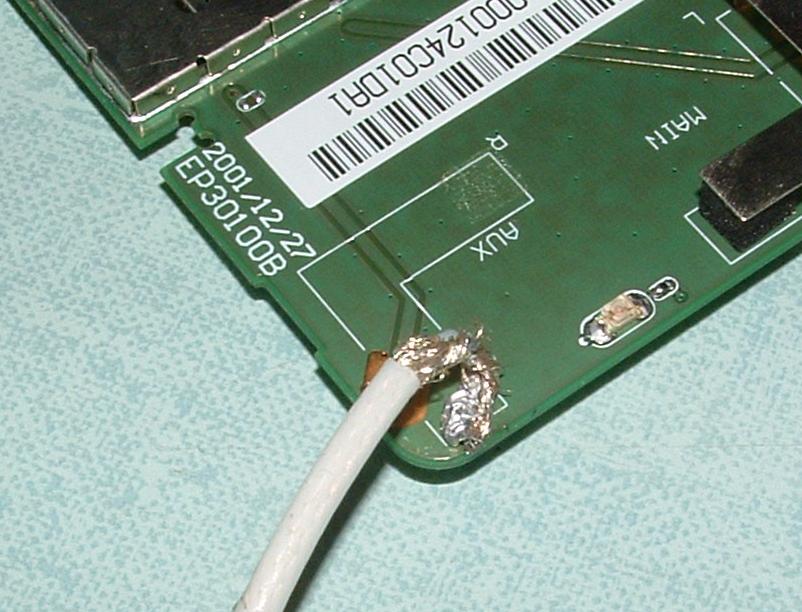 I used the solder to melt a little hole in the black plastic cover, trough that hole I passed the cable. Here you will see the work finished with a N connector soldered to the cable. 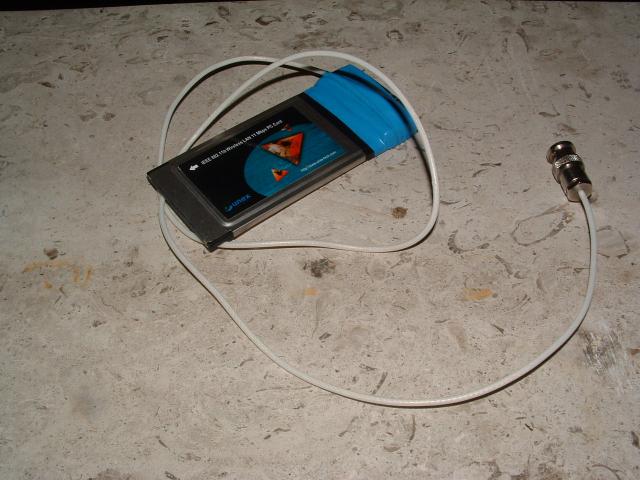 The NIC decides itself when to switch from internal or external antenna, you will get a good range improvement if you use a homebuild cantenna, that is very simple to realize (take a look at the Homemade Antenna project) No liability for the contents of this document can be accepted. Use the concepts, examples and other content at your own risk. There may be errors and inaccuracies that may damage your system. Proceed with caution, and although this is highly unlikely, the author does not and can not take any responsibility for any damage to your system that may occur as a direct or indirect result of information that is contained within this document. You are strongly recommended to make a backup of your system before proceed and adhere to the practice of backing up at regular intervals. |